Arizona Diamondbacks Jackets
 Atlanta Braves Jackets
 Baltimore Orioles Jackets
 Boston Red Sox Jackets
 Chicago Cubs Jackets
 Chicago White Sox Jackets
 Cincinnati Reds Jackets
 Cleveland Guardians Jackets
 Colorado Rockies Jackets
 Detroit Tigers Jackets
 Houston Astros Jackets
 Kansas City Royals Jackets
 Los Angeles Angels Jackets
 Los Angeles Dodgers Jackets
 Miami Marlins Jackets
 Milwaukee Brewers Jackets
 Minnesota Twins Jackets
 New York Mets Jackets
 New York Yankees Jackets
 Oakland Athletics Jackets
 Philadelphia Phillies Jackets
 Pittsburgh Pirates Jackets
 San Diego Padres Jackets
 San Francisco Giants Jackets
 Seattle Mariners Jackets
 St. Louis Cardinals Jackets
 Tampa Bay Rays Jackets
 Texas Rangers Jackets
 Toronto Blue Jays Jackets
 Washington Nationals Jackets
 Arizona Cardinals Jackets
 Atlanta Falcons Jackets
 Baltimore Ravens Jackets
 Buffalo Bills Jackets
 Carolina Panthers Jackets
 Chicago Bears Jackets
 Cincinnati Bengals Jackets
 Cleveland Browns Jackets
 Dallas Cowboys Jackets
 Denver Broncos Jackets
 Detroit Lions Jackets
 Green Bay Packers Jackets
 Houston Texans Jackets
 Indianapolis Colts Jackets
 Jacksonville Jaguars Jackets
 Kansas City Chiefs Jackets
 Las Vegas Raiders Jackets
 Los Angeles Chargers Jackets
 Los Angeles Rams Jackets
 Miami Dolphins Jackets
 Minnesota Vikings Jackets
 New England Patriots Jackets
 New Orleans Saints Jackets
 New York Giants Jackets
 New York Jets Jackets
 Philadelphia Eagles Jackets
 Pittsburgh Steelers Jackets
 San Francisco 49ers Jackets
 Seattle Seahawks Jackets
 Tampa Bay Buccaneers Jackets
 Tennessee Titans Jackets
 Washington Commanders Jackets
 Clemson Tigers Jackets
 Duke Blue Devils Jackets
 Florida State Seminoles Jackets
 Louisville Cardinals Jackets
 Miami Hurricanes Jackets
 NC State Wolfpack Jackets
 North Carolina Tar Heels Jackets
 Virginia Tech Hokies Jackets
 Virginia Cavaliers Jackets
 Georgia Tech Yellow Jackets Jackets
 Wake Forest Demon Deacons Jackets
 Pittsburgh Panthers Jackets
 Boston College Eagles Jackets
 Memphis Tigers Jackets
 Tulsa Golden Hurricane Jackets
 UAB Blazers Jackets
 Rice Owls Jackets
 East Carolina Pirates Jackets
 Tulane Green Wave Jackets
 Florida Atlantic Owls Jackets
 North Texas Mean Green Jackets
 UTSA Roadrunners Jackets
 Temple Owls Jackets
 South Florida Bulls Jackets
 Navy Midshipmen Jackets
 SMU Mustangs Jackets
 Charlotte 49ers Jackets
 Kansas Jayhawks Jackets
 Oklahoma State Cowboys Jackets
 Oklahoma Sooners Jackets
 TCU Horned Frogs Jackets
 Texas Tech Red Raiders Jackets
 Texas Longhorns Jackets
 UCF Knights Jackets
 West Virginia Mountaineers Jackets
 Houston Cougars Jackets
 Iowa State Cyclones Jackets
 Baylor Bears Jackets
 Kansas State Wildcats Jackets
 BYU Cougars Jackets
 Anaheim Ducks Jackets
 Arizona Coyotes Jackets
 Boston Bruins Jackets
 Buffalo Sabres Jackets
 Calgary Flames Jackets
 Carolina Hurricanes Jackets
 Chicago Blackhawks Jackets
 Colorado Avalanche Jackets
 Columbus Blue Jackets Jackets
 Dallas Stars Jackets
 Detroit Red Wings Jackets
 Edmonton Oilers Jackets
 Florida Panthers Jackets
 Los Angeles Kings Jackets
 Minnesota Wild Jackets
 Montreal Canadiens Jackets
 Nashville Predators Jackets
 New Jersey Devils Jackets
 New York Islanders Jackets
 New York Rangers Jackets
 Ottawa Senators Jackets
 Philadelphia Flyers Jackets
 Pittsburgh Penguins Jackets
 San Jose Sharks Jackets
 Seattle Kraken Jackets
 St. Louis Blues Jackets
 Tampa Bay Lightning Jackets
 Toronto Maple Leafs Jackets
 Vancouver Canucks Jackets
 Vegas Golden Knights Jackets
 Washington Capitals Jackets
 Winnipeg Jets Jackets
 Brooklyn Nets Jackets
 Boston Celtics Jackets
 New York Knicks Jackets
 Philadelphia 76ers Jackets
 Toronto Raptors Jackets
 Chicago Bulls Jackets
 Cleveland Cavaliers Jackets
 Detroit Pistons Jackets
 Indiana Pacers Jackets
 Milwaukee Bucks Jackets
 Atlanta Hawks Jackets
 Charlotte Hornets Jackets
 Miami Heat Jackets
 Orlando Magic Jackets
 Washington Wizards Jackets
 Denver Nuggets Jackets
 Minnesota Timberwolves Jackets
 Oklahoma City Thunder Jackets
 Portland Trail Blazers Jackets
 Utah Jazz Jackets
 Golden State Warriors Jackets
 Los Angeles Clippers Jackets
 Los Angeles Lakers Jackets
 Phoenix Suns Jackets
 Sacramento Kings Jackets
 Dallas Mavericks Jackets
 Houston Rockets Jackets
 Memphis Grizzlies Jackets
 New Orleans Pelicans Jackets
 San Antonio Spurs Jackets
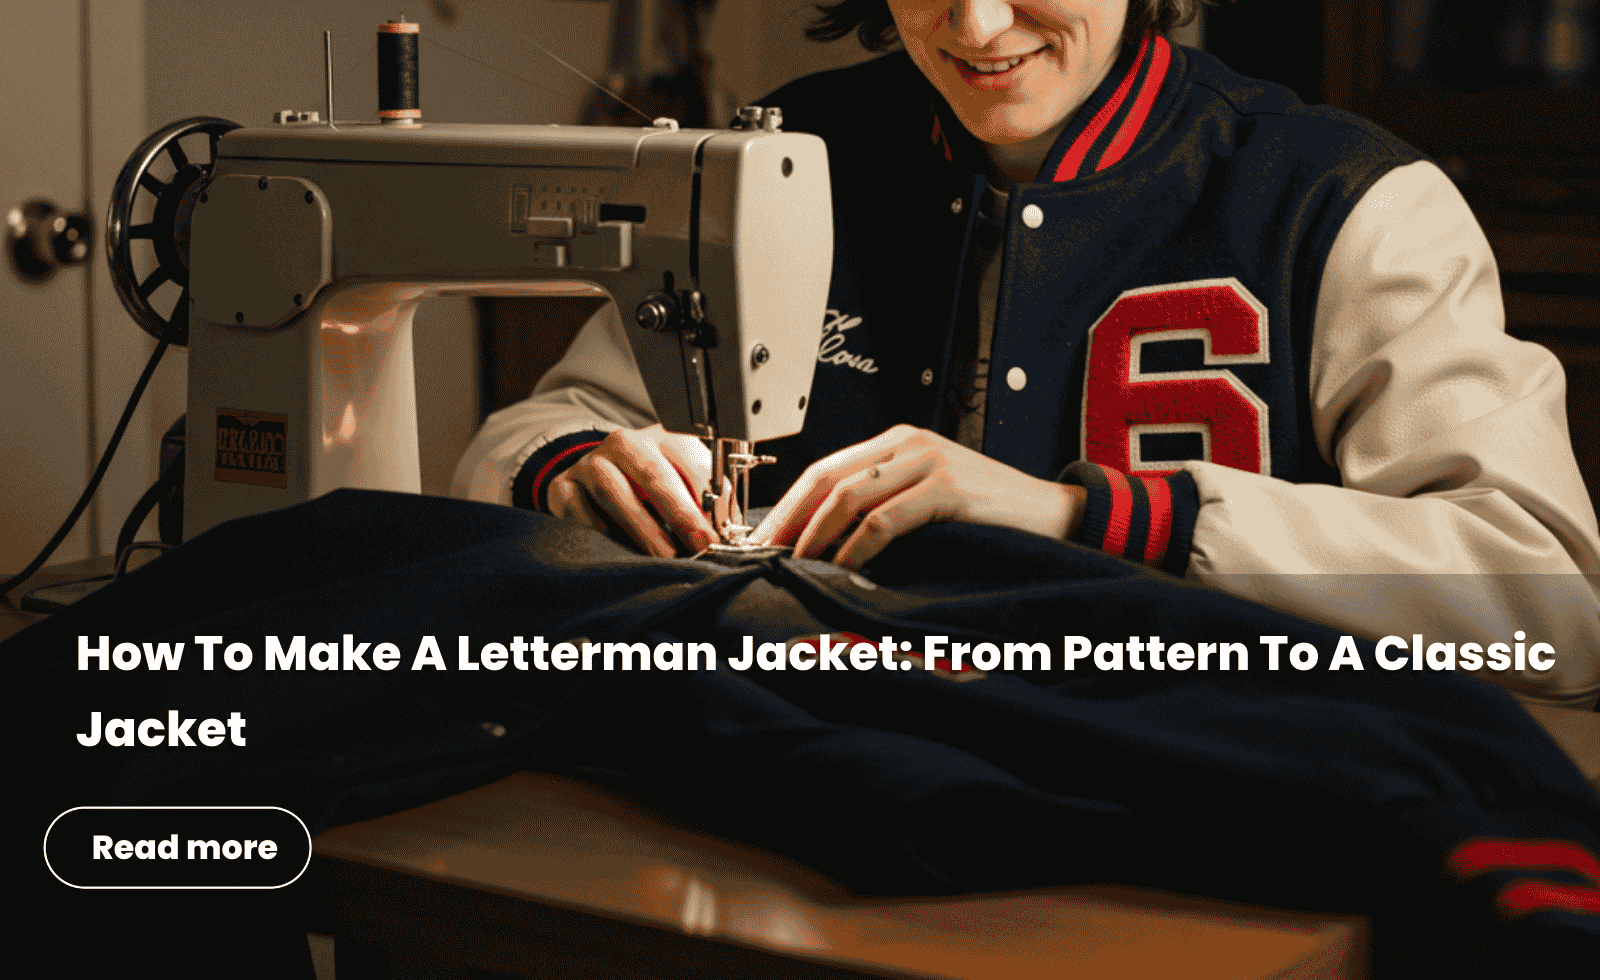
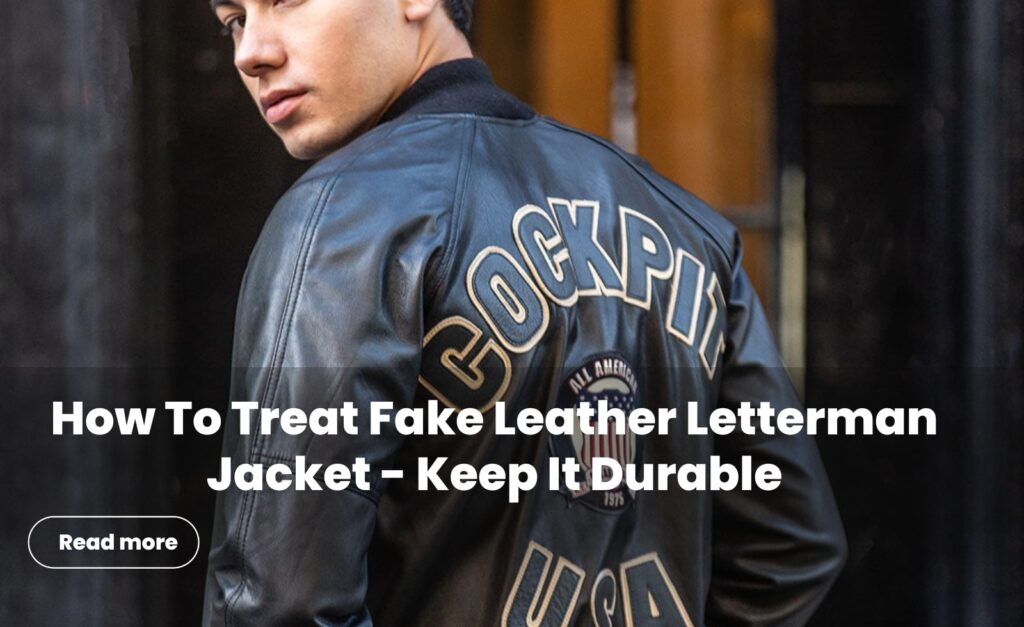
Have you ever wanted to but don’t know how to make a letterman jacket? In this article, Jacket Wow has everything you need to know to create a varsity jacket from scratch. The process involves a mix of sewing, cutting, and constructing different materials.
Preparation Phase
1. Sewing Equipment
- Sewing machine
-
Leather needles and regular needles
-
Heavy-duty thread
-
Scissors or rotary cutter
-
Pins, clips (for leather), and fabric chalk/marker
-
Iron and pressing cloth
-
Measuring tape and ruler
2. Materials You Need
- Felt
- Vinyl or faux leather
- Aatin
- Lining
- Cotton batting
- Rib-knit fabrics
- Snap fastener buttons
- Snap fastener tool
- Patch Options: We recommend buying pre-made patches since they are budget-friendly, but if you want to make one yourself, prepare cotton terry cloth and Rit dye
3. Measure These Parts Of Your Body And Write Them Down
- Shoulder and chest will be used for the back and front pattern
- Waist for the hem
- Arms and wrist for the sleeves and wristband
- Neck for the collar
All of these measures shouldn’t be too tight or too loose, so the varsity jacket will be comfortable when you wear it.
Make Your Pattern
- Pattern: Find a varsity jacket pattern that suits your style (you can purchase a pre-made pattern or design one using super wide paper).
- Sizing: Choose the right size based on your desired measurements.
Read more: How To Style a Varsity Jacket? 18 Fashionable Ideas To Check Out in 2025
2 Preparation Steps For A Good Start
1. Planning Your Design
- Choose the color combo for the varsity jacket
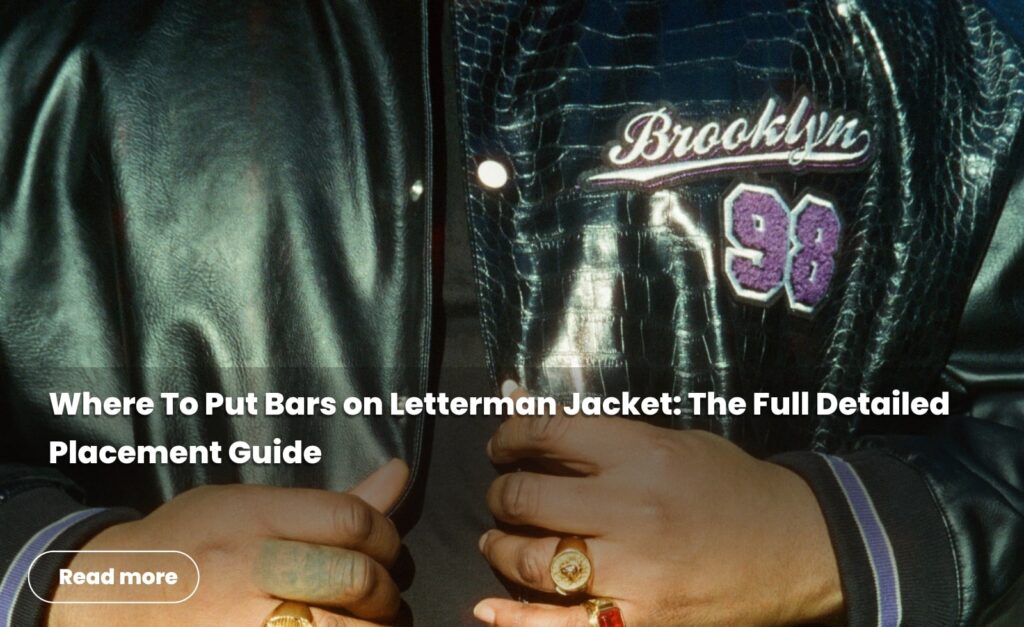
- Decide the bars you will use (letters, numbers, custom)
- Sketching your design concept to decorate your jacket
- Taking your body measurements for a good fit
2. Working With Your Pattern
- Selecting the fitting size based on measurements
- Making pattern adjustments for a perfect fit
- Cut the pattern into pieces following our instructions below from 1 to 6 and lay them neatly so you can easily use them for your project.

These are all the patterns that you need to prepare
How To Make A Letterman Jacket: A Under 10 Steps Guide To DIY
Step 1. Sew The Main Body Of The Jacket
Take these 3 pieces: 1 felt piece for the back, 2 felt pieces for the front, and sew them together with the sewing machine. You can use a regular thread for this step.
Step 2. Sew The Sleeves Onto The Body
Attach the leather sleeves to the body of the jacket using a heavy-duty sewing machine needle. Leather can be thick and tricky to sew through.

From 1 to 3: Sew the sleeves onto the body of the letterman jacket
Step 3. Open The Pocket At The Front Panel
- Identify the position your pocket gonna place at the front panel of the jacket.
- Sew the yellow line that we marked in the picture.
- After sewing, you will determine the lines to cut open your pocket just like how we marked in the picture using the green lines.
- Now grab your scissors or rotary cutter and cut open your pocket.

From 1 to 4: Open the 2 pockets on the front panel of your jackets
Step 4. Sew A Welt Pocket For Your Varsity Jacket
- Turn the jacket inside out to show the leather double welt you just sew
- Take 2 satin pocket pieces and sew each of them onto each of the leather double welt
- Sew the satin pieces together.
- You should try to put your hands in your pocket to see if there are any adjustments that you need to make.

From 1 to 4: Sew the pockets and put your hands in to check for any adjustments
A Quick professional tip: Use appropriate needles – A heavy-duty needle for leather and thick fabric will make the sewing process smoother.
Step 5. Add The Cuffs, Collar, And The Hem
Once the jacket’s body is sewn together, you can take your rib-knitted fabric out and measure the cuffs, collar, and hem.

Sewing these parts of the letterman jacket can be tricky. Take your time and don’t rush the process.
Step 6. Now You Ready To Sew The Lining
- You need to grab these patterns:
- For the back: 1 satin and 1 cotton batting
- For the front linings: 2 satin and 2 cotton batting
- For the button linings: 2 felts
- Now sew the batting cotton onto the satin.
- Just like how you sew the varsity jacket, attach all these lining parts so you can have a lining look like the picture below:

The lining of your jacket should look like this.
Step 7: Finally, Sew The Lining And The Body Altogether
- Sew the left side of the button linings to the left chest of your jacket similar to the picture below.
- Then flip the linings and do the same thing to the right chest of your jacket.

Pin the left front panel of your jacket to the left front panel of the lining then sew them together.
Step 8. Finish The Final Details
Go over the entire jacket and sew the lining onto the collar, cuffs, and hem. Grab the lining, fold it inside just a little bit, and pin it onto the areas that you are going to sew.

From 1 to 4: Fold the lining a little bit then sew it in when you reach the collar, cuffs, or hem parts.
Step 9. Appy Your Snap Button
- Mark all the buttons on your varsity jacket
- Use a snap fastener tool
Small Tip That Will Do You A Favor: Buy a fabric punch so you don’t have to struggle using a hammer and a ranch
Try on your jacket and check the fit. Make any final adjustments if needed. Once you’re happy with how it looks, your custom varsity jacket is ready to wear!
You can read our related topic: How To Customize Varsity Jacket? Craft Your Perfect, Standout Design
4 Common Issues You Might Have And How To Deal With Them
- Dealing With Thick Seams Your sewing machine struggles with multiple layers of making the varsity jacket. But don’t worry, you can a heavier needle (size 16 or 18) so it can be easier for you.
- Uneven Ribbing: Rib-knitted fabric can stretch unevenly. To prevent this, pin at quarter marks first, then stretch the ribbing slightly as you sew.
- The varsity jacket doesn’t fit as expected: You can avoid this problem when you are in the preparation phase by using another jacket that you already have that fits you comfortably and measures its size instead.
- Leatherworking Difficulties: Leather is difficult to sew or marks from pins so you should use leather clips instead of pins or leather needles.
FAQs
1. How Much Does It Cost For Making A Letterman Jacket?
It costs about $75-200 for a DIY letterman jacket depending on your material choices.
2. What Are The Most Common Material Used For Letterman Jacket?
Traditional letterman jackets have wool bodies with leather sleeves. To learn more, read our blog: What material is a varsity jacket? Choosing the right one
3. Can I Use An Iron-on Patches For My Varsity Jacket?
Absolutely! Iron-on patches work well, especially on the wool body portions.
4. How Long It Takes To Make A Letterman Jacket?
For someone who has sewing skills, expect to spend 2-3 hours. Beginners will need longer, potentially 5-6 hours, even days for this project.
5. Is It Hard To Make A Letterman Jacket?
Yes, it is. Making a letterman jacket is a bit tricky. But, if you take your time and follow our guide closely, even if you’re new to sewing, you can make a great jacket.
This Is The End Of Our Tutorial
Jacket Wow believes that this tutorial will help you on your project of learning how to make a letterman jacket for yourself at home. But if you want to save time and think this project might be too complex, consider giving our jackets a chance! We have an enormous collection of unique customized jackets with budget-friendly prices that won’t disappoint you, visit: Jacket Wow to choose your favorite one!